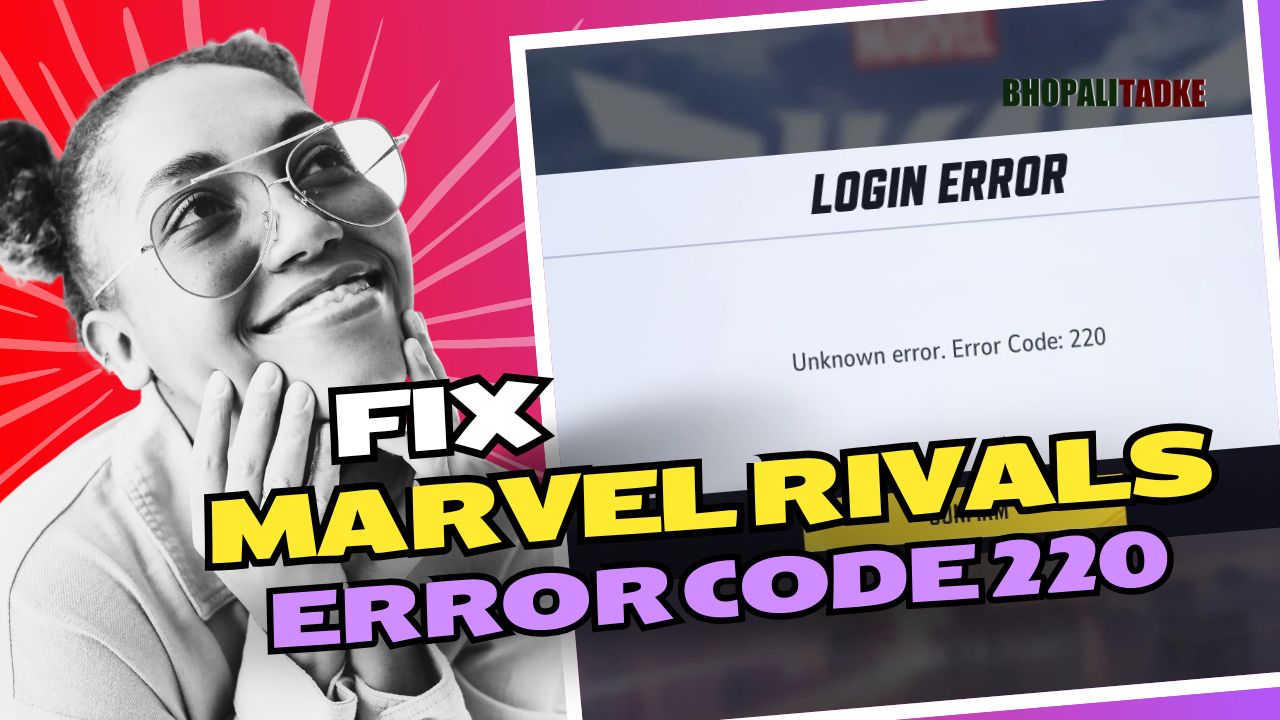
In this post, I’ll show you exactly how to fix Marvel Rivals error code 220. If you’ve been struggling with this issue, don’t worry—I’ve got you covered. Just follow these steps carefully, and your problem should be solved.
Step 1: Adjust Your DNS Settings
The first thing you should do is tweak your DNS settings. Here’s how:
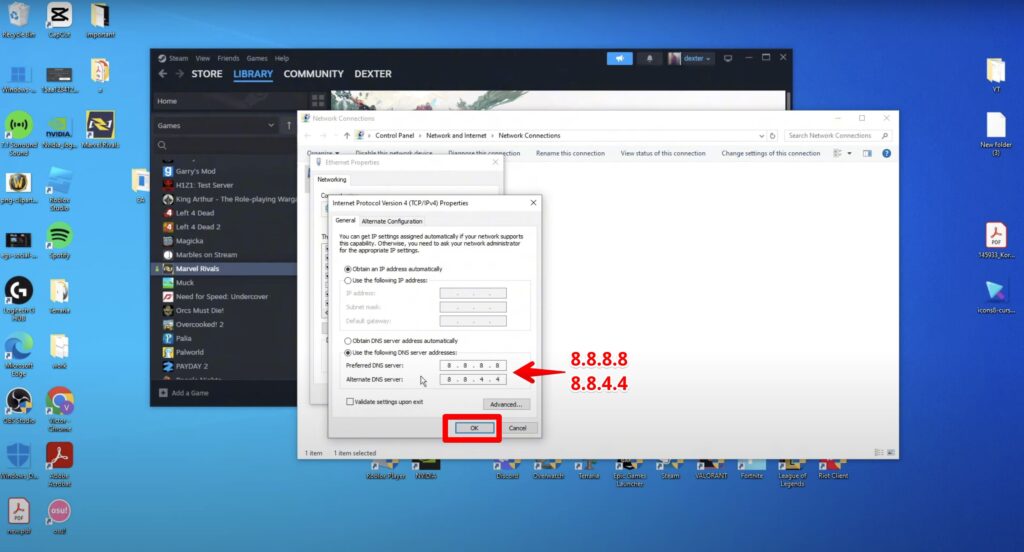
- Go to View Network Connections.
- Find your internet connection, right-click, and select Properties.
- Look for Internet Protocol Version 4 (TCP/IPv4).
- Choose Use the following DNS server addresses and enter:
8.8.8.88.8.4.4
- Press OK and see if the error is fixed.
If this step works, great! If not, let’s move on to the next one.
Step 2: Check Compatibility Settings
Next, you’ll want to check your game launcher’s compatibility settings:
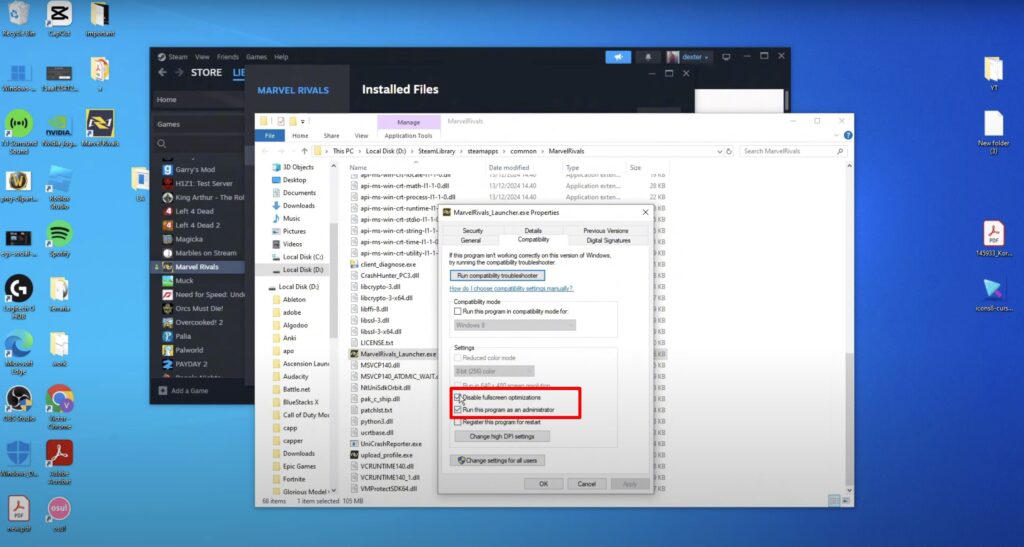
- Right-click on your game launcher and go to Properties.
- Under the Compatibility tab, enable the relevant options (like “Run as administrator”).
- Apply the changes and test it.
If the error persists, don’t worry—there’s more you can try.
Step 3: Allow the Launcher Through the Firewall
Sometimes, the issue is just with the firewall settings. Here’s what to do:
- Search for Firewall and select Allow an app through the firewall.
- Click on Change settings and check all the boxes for Marvel Rivals or its launcher (Private, Public, and Domain).
- If it’s not listed, click Allow another app, browse to the launcher’s folder, and add it manually.
This step usually solves the problem for many users. But if it’s still not working, keep going.
Step 4: Use CMD Commands
We’ll now try some CMD commands to reset network settings:
- Open Command Prompt as an administrator.
- Type the following commands one by one:
ipconfig /flushdnsnetsh winsock reset
- After running these, restart your PC and check the game again.
Step 5: Reset Network Settings
If nothing works so far, you can try resetting your network settings:
- Search for Network Reset in the Start Menu.
- Open it and press Reset now.
- Your PC will restart, and your internet settings will be refreshed.
Step 6: Restart Your Router
Lastly, unplug your router for a few minutes, plug it back in, and reconnect to the internet.
Final Thoughts
Hopefully, one of these steps has worked for you. If it did, please like this article and subscribe—it helps me a ton! Let me know in the comments if you’ve faced this issue and how you fixed it. Thanks for reading, and I’ll see you next time!